
From driving rain to baking sun exterior walls take a battering from the weather all year round. No wonder that after a while the outside of your house can look a bit worse for wear and in need of a fresh coat of paint.
There's no denying that painting a house is a big job so it's important to take your time and plan ahead in order to achieve the best results. Learn how to paint the exterior of you house with our handy step-by-step guide.
You may also like

What is the best paint for exterior walls?
The choice of exterior paint for your project will will depend on two main things. Firstly, the exposure of your house to the weather and secondly, the type of surface you're painting; render, masonry, brick work etc.
Exterior masonry paint comes in smooth and textured finishes. A textured masonry paint will help to cover uneven or bumpy surfaces such as filled cracks or uneven render and make it appear flatter. Textured paint tends to have less coverage compared to smooth paint so you might need more of it. Along with better coverage smooth masonry paint is also easier to apply. Smooth paint is suitable for flat walls that are in good condition.
We recommend Dulux Trade Weathershield
Dulux Trade Weathershield is available in a wide range of colours and finishes and has some great features for a durable and long-lasting finish.
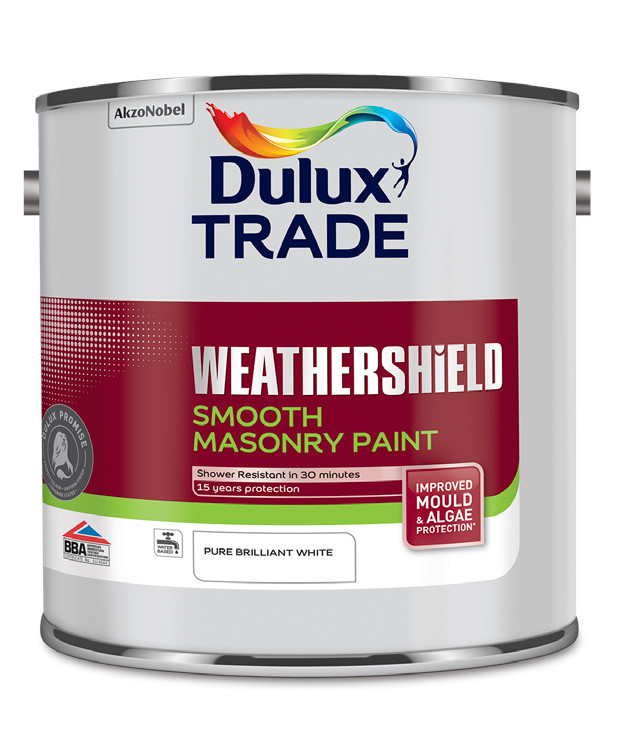
Smooth Masonry
Dulux Trade Weathershield Smooth Masonry paint is a high quality paint for exterior walls that offers all-weather protection and contains a fungicide to resist mould growth within the paint film so that walls look pristine for longer.
- 15 years protection
- Shower-resistant within 30 minutes
- Water-based
- Anti-fade technology for long-lasting colour
- Excellent opacity
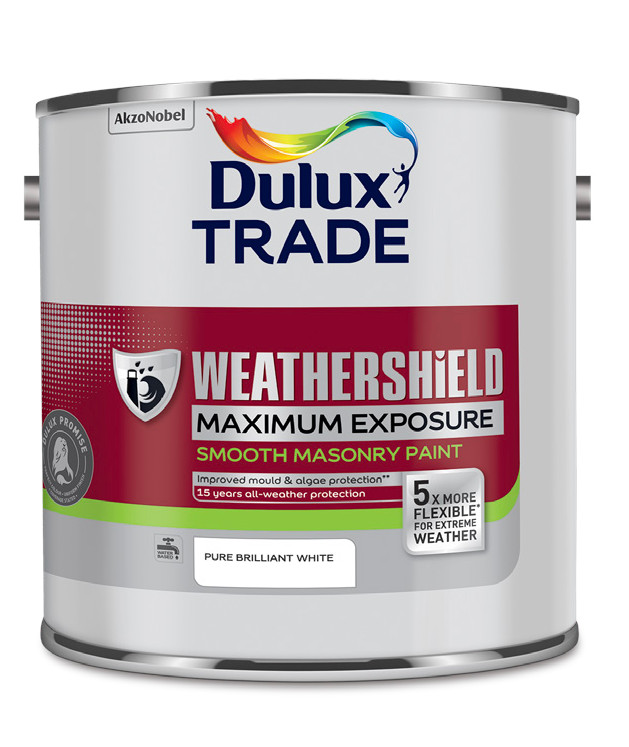
Maximum Exposure Smooth Masonry
Dulux Trade Weathershield Maximum Exposure Smooth Masonry Paint provides protection even in the harshest environments, offering up to five times more flexibility than conventional masonry paints to help prevent cracking
- 15 years all-weather protection
- Shower-resistant in 15 minutes
- Best ever mould & algae protectionWater-based
Anti-fade technology for long-lasting colour - 5 x more flexible for extreme weather protection
Tools and equipment
The following is a list of equipment you'll need in order to complete the job. You might not need all the items on the list so check the condition of your walls and read the guide thoroughly before gathering the materials you'll need.
- Exterior masonry paint
- Ladder and/or scaffolding tower
- Dust sheets
- Masking tape
- Paint brushes
- Paint rollers
- Exterior fillers
- Filling knife or trowel
- Caulk
- Sandpaper
- Wire brush
- Pressure washer
- Scraper
- Detergent or fungicidal wash
- A paint kettle or suitable container
- Gloves, eye protectors and overalls
- Mask
- Paint stirrer
- Tea & biscuits
Preparing the walls for painting
A time consuming but very necessary step thorough preparation not only makes painting easier but will also ensure a long lasting and durable finish.
Before starting any prep work make sure to move any plants or ornaments our of the way and lay down dust sheets on the ground.
1. Clean the surfaces
Start with cleaning down all the surfaces that you're planning to paint. This is an important step as any dirt or mould left of the surface prior to painting will prevent the paint from sticking properly and may lead to flaking or peeling.
If mould or algae is present wash down the walls with a suitable fungicidal cleaner rinse and allow to dry.
If the walls are generally in good condition a rinse with a household detergent should suffice to remove the surface layer of any grease or accumulated dirt. Alternatively, a pressure washer can be used to wash away the dirt.
2. Remove loose and flaking paint
If the wall has already been painted use a scraper to remove any loose or flaking areas of paint. For dry, friable areas of render use a surface primer to consolidate the powdery surface in order to provide a stable surface for the paint to stick to.
3. Fill any cracks or holes
Inspect the walls for any cracks or holes and fill small cracks with a suitable exterior filler and allow to dry. If the wall has large or extensive cracks then the wall may need to be re-rendered in which case it's best to approach a professional for advice before proceeding.
Once the filler has dried use a hand sander or sandpaper block to sand down any high spots or uneven areas.
If there are gaps around window frames use a suitable caulk to fill in the gaps. This will ensure the windows are watertight and won't let in any water during the wetter winter months.
4. Masking off
Using decorators tape to mask off all areas such as doors and windows that you don't want to get paint on. This can be time consuming but it's worth the effort for a professional finish.
How to paint exterior walls
Firstly, read the instructions on the side of the tin to make sure you fully understand the manufacturers instructions and drying times. Give the tin of paint a good stir and decant some of the paint into a kettle or similar paint holder.
Whether you use a brush, roller or sprayer is largely down to personal preference and experience. Using a brush will give you greater control but will take longer. A good approach is to use a brush to cut in the fiddly areas around windows and doors and then fill in the larger areas with a roller.
Consider using a sprayer if you have one and are comfortable using it. Although potentially quicker a sprayer can be quite messy in inexperienced hands.
Starting painting at the top of the house and make your way down. Apart from being safer it's easy to cover up any drips or splashes as you work your way down.
Try and enjoy the painting process! If you've done all the correct preparation work the paint should go on easily and quickly.
Once the first coat of paint is dry apply the second using the same technique as above.